Hi Ladies! As I mentioned in my previous post, my Nanna was visiting this weekend and as a treat we popped to the salon to get our nails done. I went for my usual clear acrylics and my Nanna had a standard manicure and polish. She already has lovely natural nails so didn't need the fakies like me, haha! I've not had my nails done in such a long time as I wanted to give them a breather after abusing them with acrylics last year. However, after months of wearing no nail polish and looking at my awful short and stumpy nails, I finally caved. After all, its nearly Spring and I can't miss out on pretty pastel nails now can I?
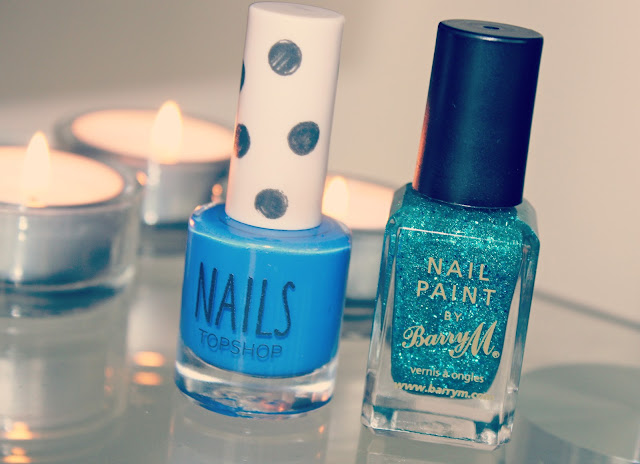
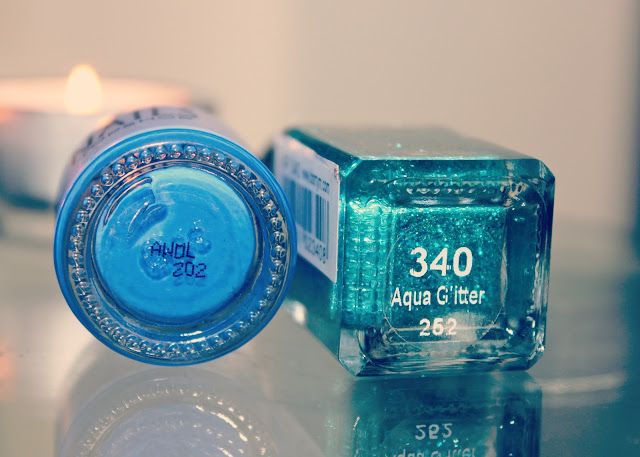
Being the spend-a-holic that I am, having new nails gave me the perfect excuse to buy some new polishes (regardless of the basket full sitting in my drawer 8)). So, whilst doing the weekly shop with my boyfriend in Tesco, I spotted 3 for 2 on Barry M polishes. Yes I know, I was meant to be doing a food shop and still couldn't resist a peak down the beauty aisle. I think my boyfriends learnt to accept my beauty addiction by now as he stood patiently with the trolley whilst I rummaged through the colour range. I eventually decided on the three polishes I wanted, one of them being 'Aqua Glitter', a gorgeous Turquoise (or Aqua, as the name states) and silver glitter. I don't own a great deal of glitters in my nail collection and I thought this one was perfect and summery.
As soon as we'd got home, before the shopping was even unpacked, I was on a mission to create a nail look with my new glitter polish. I already new I wanted to use Topshop AWOL, a bright colbat blue, alongside the glitter but I wasn't sure how to pair them together. I don't like to wear glitter all over every single nail as I think it looks a bit much, especially for work, so I set about coming up with something glam but not so OTT. After a bit of playing around, I eventually decided I would use the glitter to create a gradient 'ombre' effect on the tip of each nail. I'm not the most creative person when it comes to nail art but I'd seen a few people do this effect and loved the results.
I started by applying a base coat then Topshop AWOL all over my nails. If you haven't tried Topshop nail polishes, I urge you too, they're one of my favourite brands. The brushes are quite small and thick which makes application easy and effortless and the consistency of the polish itself is just perfect - I only needed one coat to achieve full opaque coverage. When AWOL had dried (I used my Sally Hansen Insta Dri to speed things along), I set to work on applying the glitter. To create the gradient effect, it was a matter of trial and error. I knew I wanted the glitter to blend and not look like a harsh line so I applied it from the mid section of the nail upwards using random strokes to create the gradient effect. I think it worked pretty well and it only took a matter of minutes to apply it to all of my nails. I also like how the glitter particles are very fine in this polish as I can't imagine this effect would work too well with a chunky glitter.
Overall, I really love this effect and I'll definitely be trying it again with different shades. I've really enjoyed doing a nail post too as due to my rubbish natural nails, I don't do them all that often. If you've enjoyed reading this and would like to see more nail posts from me, please do let me know in the comments below.
I'd also like to say sorry for the lack of photos of my actual nails but my DSLR picked up all the cuts on my fingers and my dry hands (damn you cold weather), so the one I've included was the best of a bad bunch. I've popped a couple more over on my Instagram though (kayleighjcouture), if you fancy a look.
What do you think of gradient glitter nails? Do you like this effect?


No comments:
Post a Comment